Advantage Voice (formerly SmartVoice) lets you collaborate from anywhere. Use this guide to activate Webex for Advantage Voice and learn how to set up on desktop and mobile applications. Ensure you read through the instructions before you start.
Logging into Advantage Voice for the first time
If you’re a new Advantage Voice customer, please follow the steps below prior to activating Cisco Webex.
Update Your Temporary Password
Before getting started, make sure you log into the Advantage Voice online portal to activate your account and change your temporary password.
These credentials can be found in the Welcome email from Rogers Business. You will need your Advantage Voice credentials to start using Webex (described further below).
Resetting your Advantage Voice password
If you’re an existing Advantage Voice customer and need to reset your password to activate Webex, please follow the below steps prior to activating Cisco Webex.
Reset Your Advantage Voice Password Visit Reset Your Advantage Voice Portal Password. Once you’ve reset your password, you can activate Webex.
Activate Cisco Webex
Applicable only to Advantage Voice packages that include the Cisco Webex desktop & mobile applications.
Once you have your Advantage Voice password, follow these steps to activate and download the Cisco Webex for desktop, mobile and tablet applications. This process will involve two sets of credentials: 1) Your Advantage Voice credentials 2) A Webex email address.
| Advantage Voice credentials | Webex email address |
|---|---|
These are used to connect your Advantage Voice account to Cisco Webex so you can manage your calling features. You can set up these credentials in the steps above. Each time you see a page with a Rogers Business logo, enter your Advantage Voice credentials. | This is the email address used for your Cisco Webex account. Use your Webex email every time you see a page with the Webex logo. |
Step 1: Setting Up & Logging In With Your Advantage Voice Credentials
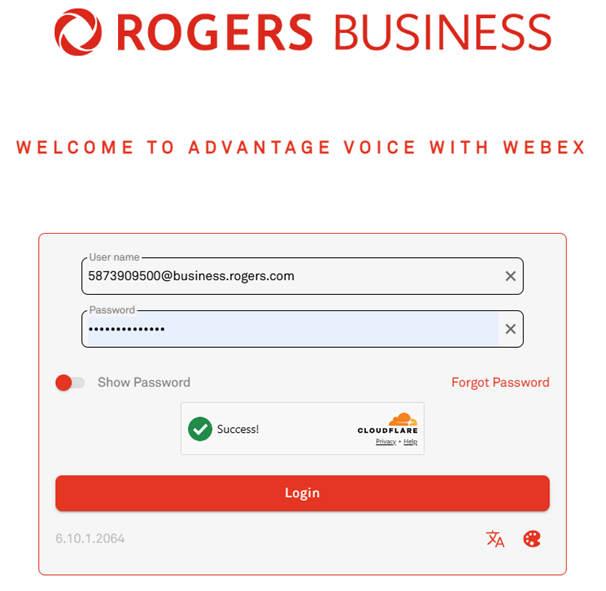
- Go to the Rogers Business Webex portal.
- Log in with your Advantage Voice credentials (this is your Advantage Voice username and the new password you set up).
- If you are a new customer, your credentials will be found on the Welcome Email.
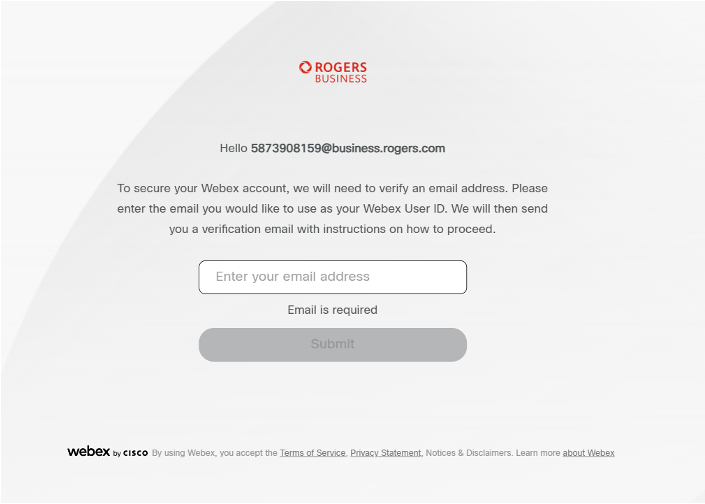
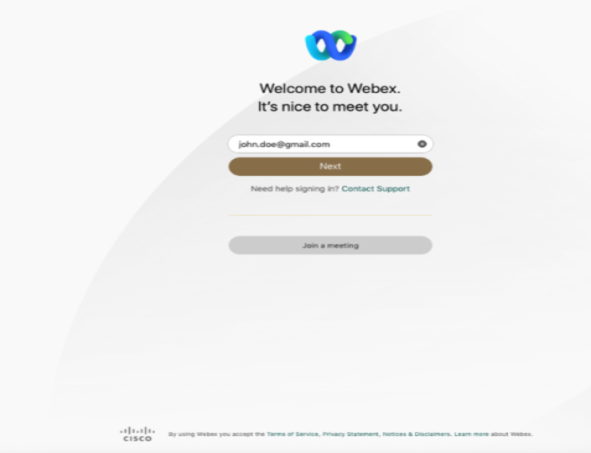
Step 2: Enter Email Address & Validate
- Enter the email address you want associated with your Cisco Webex account (usually your work email address).
- This email will then be linked to your Webex account. You will use the same password as your Advantage Voice portal credentials when logging into Webex.
- This email will then be linked to your Webex account. You will use the same password as your Advantage Voice portal credentials when logging into Webex.
- Check for the activation email sent to the work email address you entered.
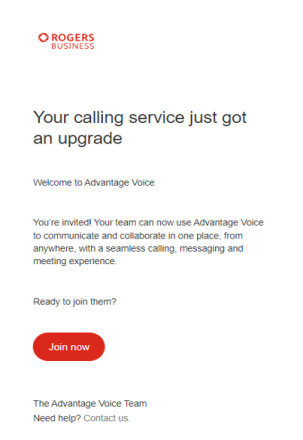
- Select the Join Now button in the email.

Step 3: Delete Free Webex Account
If you have an existing free Webex account using the email you validated, you will be notified and prompted to delete it. This will also delete any existing content in that Webex account, including contacts, meetings, messages, and files. If you don’t have a free Webex account, you will be prompted to the next step.


Note: If you have an existing Webex email from a paid account, you may encounter the error code below. You will need to contact your company’s IT administrator to discuss next steps prior to activating Webex.
Step 4: Download Cisco Webex App
- After email validation is complete you will be directed to the Cisco website to download the Webex app for either desktop or mobile.
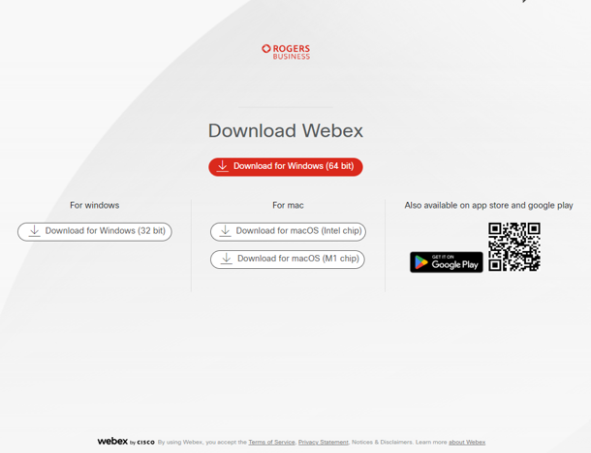
- If you misplaced your email or encounter issues with the links to the download site, you can use the following link to download application versions. The correct app you should be downloading is called Webex.

Launching Cisco Webex
Once Webex is installed on your device follow these steps to sign in.
- Launch the Webex app and enter your Cisco Webex Credentials.
- Enter the email address associated with your Cisco Webex credentials (this will be your regular work email address that you entered in
Step 2 in the section Activate Cisco Webex.
- Enter your Advantage Voice credentials (This is your Advantage Voice username and password you set up when you first logged into your Advantage Voice service.
